Charcuterie cones are a new food trend – adorable hand-held cones filled that look like little bouquets, and the perfect way to enjoy your typical grazing board ingredients without touching the same ingredients as everyone else!
If you own a mobile device and spend any time of social media you’ve seen charcuterie cones (aka charcuterie cups or the corona cone)
Last year my individual charcuterie boards became popular and I’ve been making them ever since. But, instead of serving individual boards, these are served in individual servings – typically paper cones. And are a great way to serve yummy food in an adorable way.

Hostess tips:
Since I originally created this post I had the wonderful opportunity to host several events that required charcuterie cones! And the following tips helped me present it in a gorgeous way.
Tip 1: Go ahead and get a bamboo cone holder. It makes transporting and displaying your cones so much easier. The first time I actually served them did not have this and used an antique cup holder (as pictured above) and it worked fine, however a bamboo cone holder allows you to hold 12 at a time and keeps your charcuterie cones steady and upright.
Tip 2: Prepare your cones in your bamboo cone holder prior to your event by placing individual cone papers into the slots. Use high quality cones, like actual ice cream cones, or these wood cones, that aren’t just a flimsy piece of paper. This prevents your cones from getting wet and soggy.
What to include in charcuterie cones:
- Your favorite charcuterie foods and favorite cheese.
- Nuts or dried fruits
- Meat of choice
- Fruit
- Olives
- Pickles
- Edible flowers
- Herbs
- Candied flower petals
- Honey comb or honey lollipops
Tools you need to make charcuterie cones:
- Sturdy cones, you can use paper but make sure they’re double wrapped! – my favorites are linked below
- Bamboo stick for giving height to short items – like olives, pickles, fruit
- Something to help cones stand up, like a cone holder or mason jar – my favorites are linked below!
How to assemble a charcuterie cone for the best visual appeal:
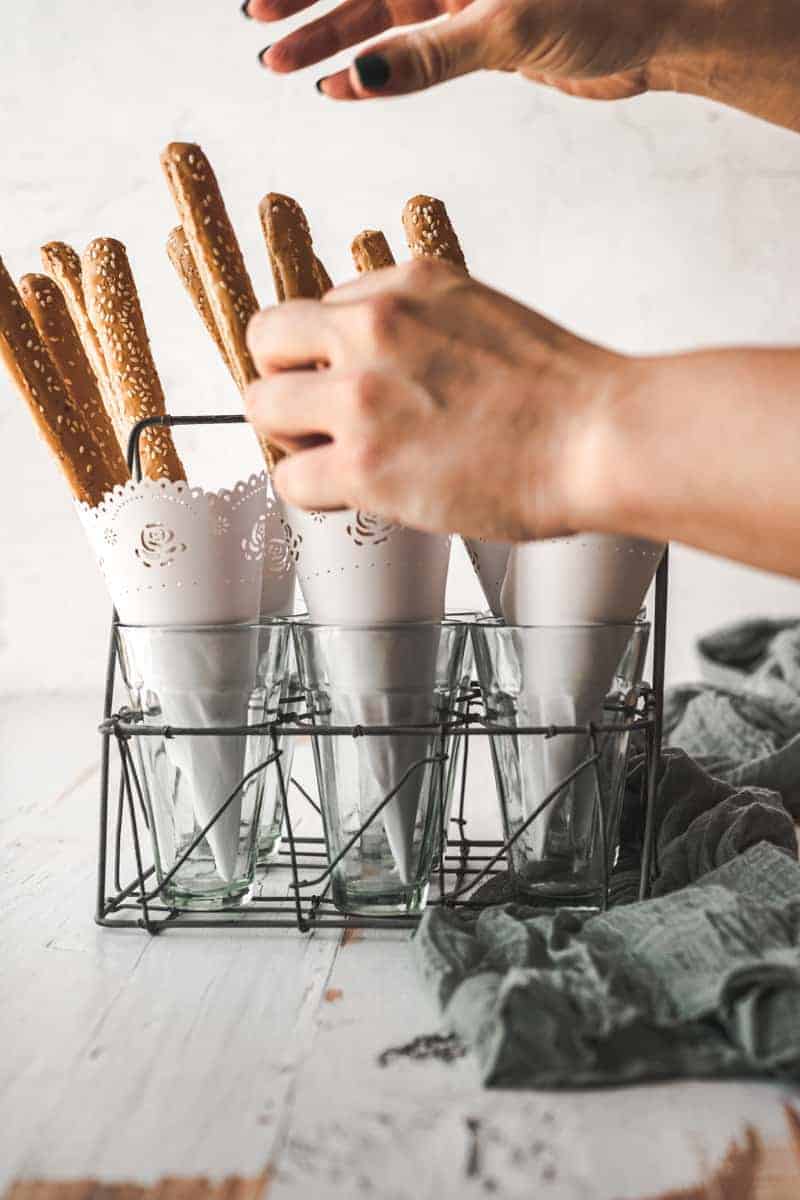
Start with choosing your cone. Either purchase ice cream cones, disposable wood cones (my favorite) or use some pretty paper cones. Simply folding parchment paper works just fine if you don’t have a premade cone option. If using paper options, be sure to double up because they may get soggy and won’t be as sturdy to keep your charcuterie items upright.

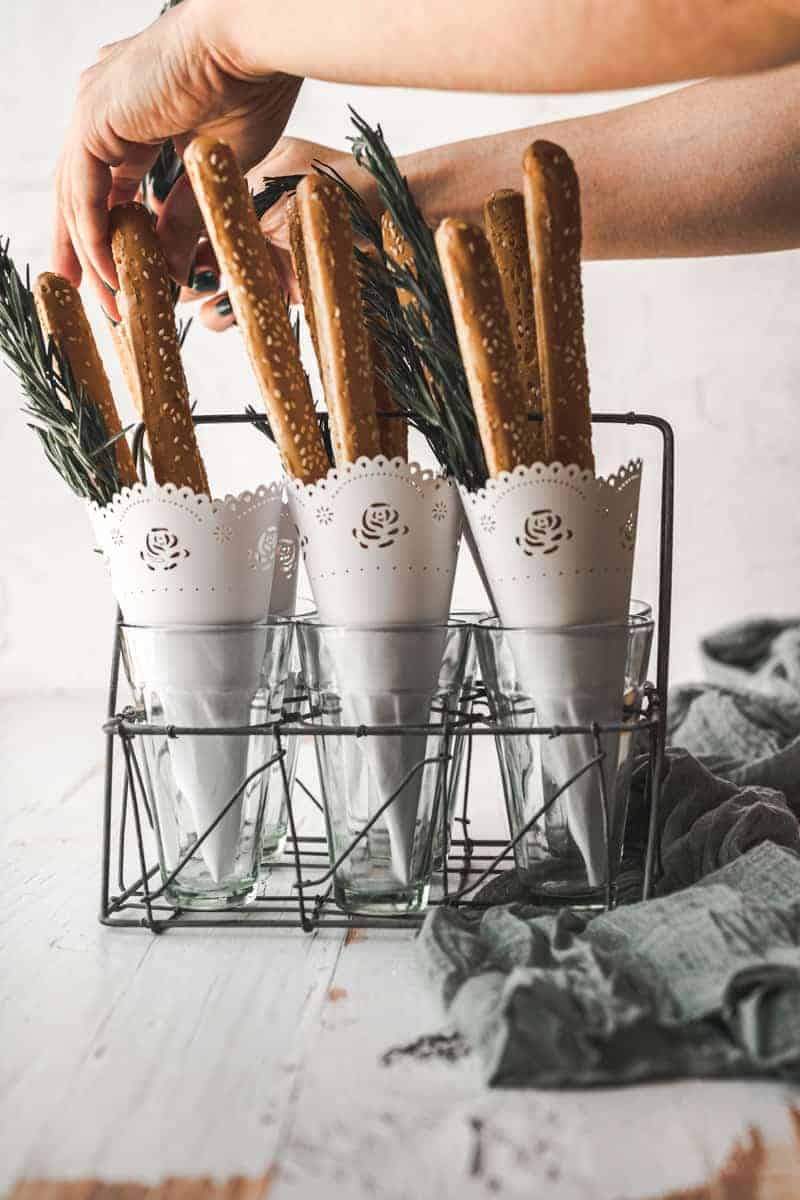
Next, add your tallest items like tall crackers, breadsticks, biscotti, or bread.
From there, add a few nuts or piece of dried fruit like raisins to add height. Add some fresh herbs or organic edible flowers on top of that for a touch of color and garnish.
Add hard cheeses in various shapes and sizes to a bamboo stick. Cheese that’s too soft will dampen your cone. We love cheddar, gouda and Colby jack in our cones.
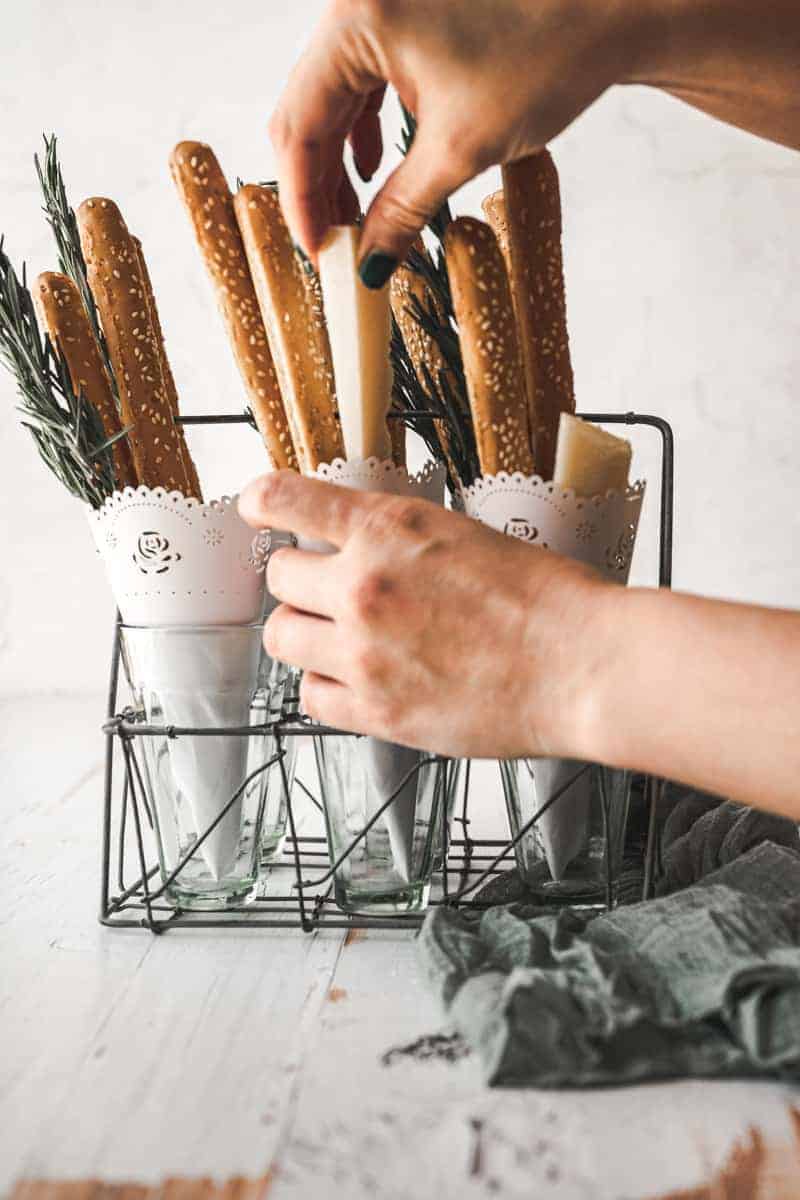
Add seasonal fresh fruit, vegetable, pickled food or olives of choice. Use your bamboo skewers to add height if needed, so they don’t get lost in the cone.
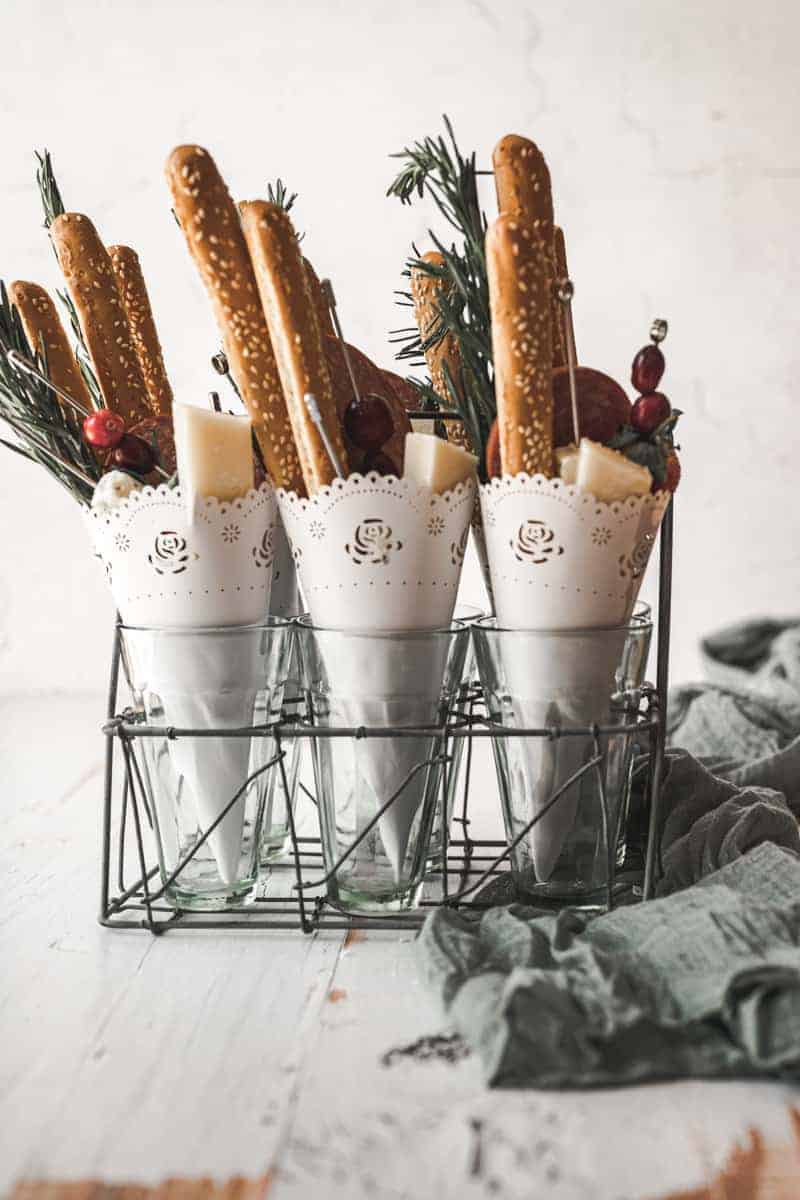
Finally, if you want, add in your cured meat of choice. A salami rose would be a beautiful addition. In this cone, I added summer sausage for the winter season.

And there you have it! It’s that simple to assemble a beautiful charcuterie cone!

How to make charcuterie cones
Ingredients
- 12 bread sticks or crackers
- 2 variety of cheeses in various cuts
- 6 bunches of fresh herbs
- 6 skewers of fresh seasonal fruit
- 6 slices of cured meat of choice
Instructions
- Assemble your cone.
- Add your tallest items like crackers or breadstick.
- Add some fresh herbs or organic edible flowers for a touch of color and garnish
- Add hard cheeses in various shapes and sizes
- Add some fresh herbs or organic edible flowers for a touch of color and garnish
- Add hard cheeses in various shapes and sizes
- Add seasonal fresh fruit, vegetable, or pickled food of choice. Use skewers to add height if needed, so they don't get lost in the cone.
- Add in meat of choice
There’s no links to items. So frustrating.
So sorry about that. I’ll update and add links I use today. Somehow they dissapeared. Thanks a bunch for letting me know. One woman show here, and sometimes the tech side drives me crazy too! Happy holidays, check back in a few minutes and I’ll have all the links for you,