Pressing pansies is a great way to preserve their delicate beauty. Pansies are a popular choice for pressing because of their flat, wide shape. By following these simple steps, you can successfully press pansies and enjoy their beauty for years to come!
Just think about how exciting it is to grow an abundance of pansies in your edible flower garden and then press them, store them properly and use them for all of your baking and garnishing needs through the year. That’s exactly what we do at frolic and fare as an edible flower bakery. Visit our post on the best ways to use edible flowers
What you’ll need:
Start by gathering your supplies.
Fresh pansies
- Heavy weight blotter paper
- Wax paper
- A heavy book or flower press or microwave flower presss
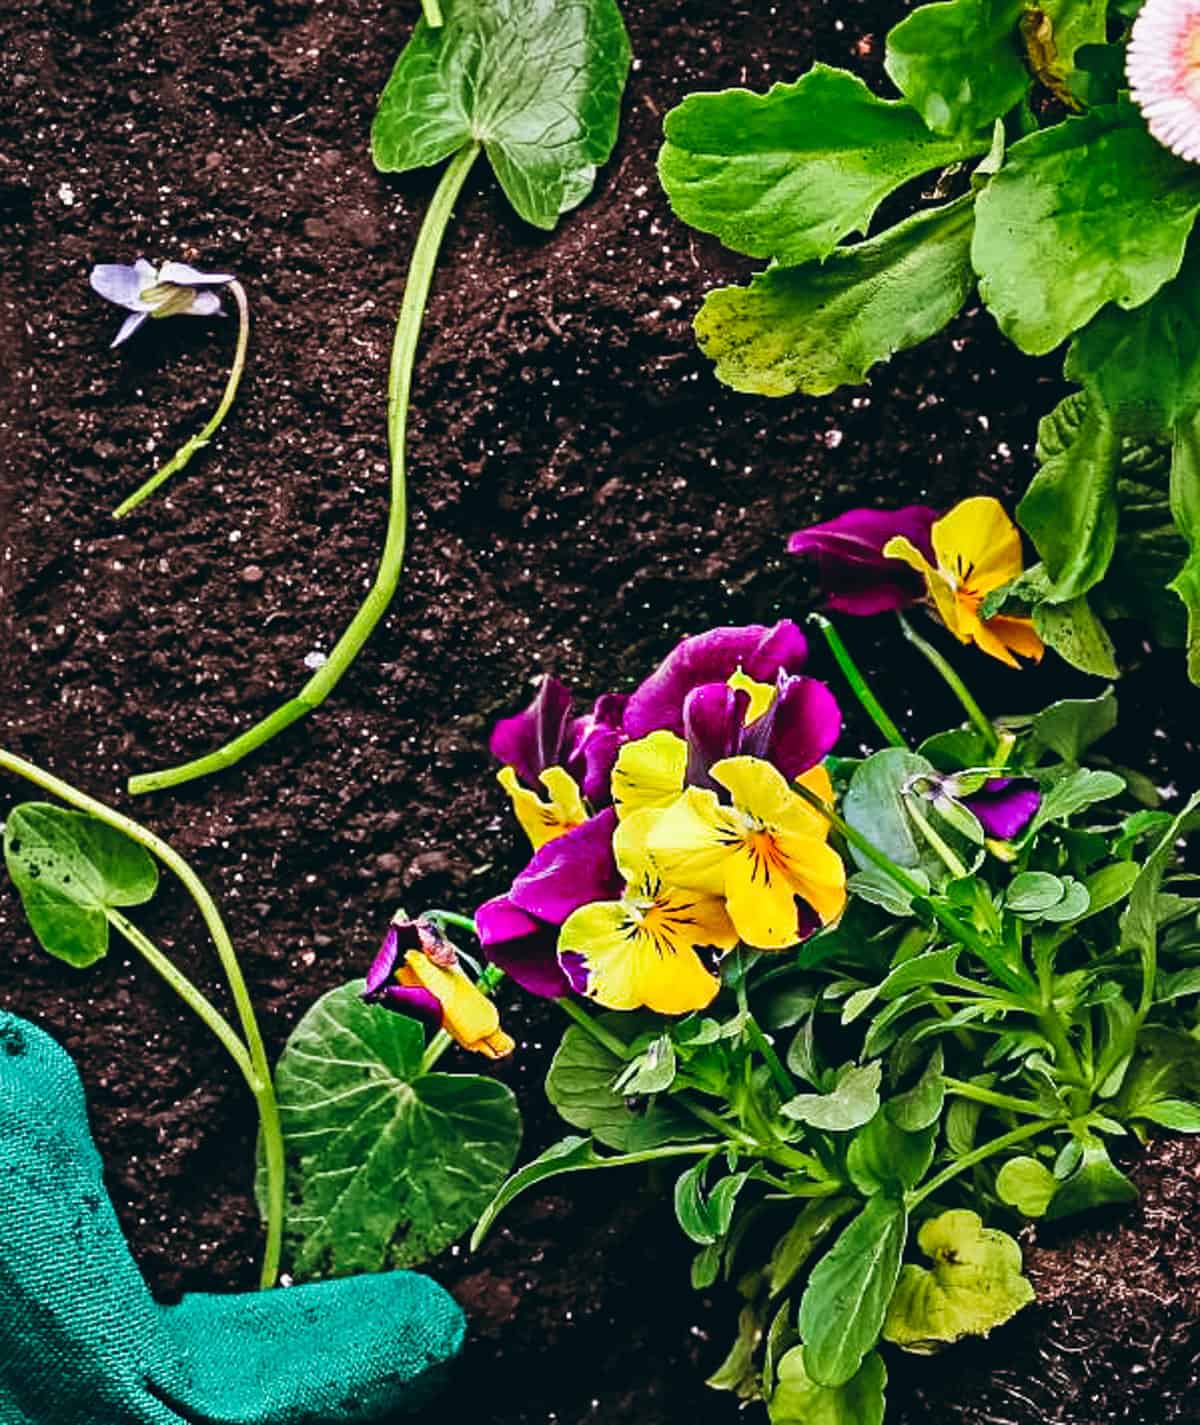
Picking Your Pansies
The first step is to pick your pansies. Choose blooms that are just beginning to open for the best results.
Cut them at the stem, being careful not to bruise the flower. If you do bruise them, they will not press as nicely. You should plan to press them right after picking.
How long will they last after being picked?
Pansies will be usable for 4-6 days if kept in an airtight container in the fridge if you’ve picked too many or need them for another project, like garnishing a fresh salad. I’ve had pansies last two weeks in the fridge when stored properly! But they may begin to wilt much sooner, after day three is common. Read our post on how to store and preserve edible flowers for the full details.
Pro tip: Try our Garden pansy salad, Refreshing edible flower popsicles, or candied pansies if you have picked too many and want to use them up right away. For more ideas and inspiration, visit our page on: All the ways to use edible flowers
How can I revive droopy flowers?
Wilted or droopy flowers can occasionally be revived by placing them in an ice water bath for 10 minutes. This helps rehydrate the flower’s cells and gives it new life! Use these blossoms immediately after removing from your ice bath.
Preparing Your Flowers for Pressing
Now that you have picked your pansies, it’s time to prepare them for pressing. Start by removing all of the leaves from the stem. Once the leaves are removed, gently dab the flowers with a paper towel to remove any excess water. Next, lay each flower on a piece of absorbent paper, such as parchment paper or coffee filters. Make sure that the paper is big enough so that you can fold it over and completely encase the flower.
The final step is to press your pansies. There are several methods to getting perfectly pressed pansies. Read on and use whatever tools you have below!
Pressing In a Book
- Place your flowers between the pages of a heavy book and close it tightly. Leave your flowers pressed for at least two weeks so that they have plenty of time to dry out completely. Once they are dry, they can be used any and everywhere!
- Lay out a piece of wax paper on a flat surface. Place the heavyweight paper on top of the wax paper.
- Arrange your pansies on the heavyweight paper however you like. Make sure that they’re not overlapping too much, as you want each flower to be able to lay flat when pressed.
- Once you’re happy with the arrangement of your flowers, place another piece of wax paper on top of them.
- Now it’s time to start pressing! Open up your book to about the middle, and place the stack of wax paper and flowers inside. ?Close the book and weigh it down with something heavy, like a brick or another book.
- Let the flowers sit for at least two weeks so that they can dry and flatten out fully.
- Once they’re done pressing, remove the wax paper and heavyweight paper from the book. Your beautiful pressed pansies are now ready to be displayed!
Pressing in a traditional flower press:
This is my personal favorite way to press flowers.
- Lay out a piece of wax paper on a flat surface. Place the heavyweight paper on top of the wax paper.
- Arrange your pansies on the heavyweight paper however you like. Make sure that they’re not overlapping too much, as you want each flower to be able to lay flat when pressed.
- Once you’re happy with the arrangement of your flowers, place another piece of wax paper on top of them.
- Now it’s time to start pressing! Open up your flower press and place the stack of wax paper and flowers inside. Close the flower press according to it’s individual manufacturers instructions.
- Let the flowers sit for at least two weeks so that they can dry and flatten out fully.
- Once they’re done pressing, open the flower press and remove the wax paper and heavyweight paper.. Your beautiful pressed pansies are now ready to be displayed!
Pressing in a microwave press:
- Lay out a piece of parchment (NOT WAX) paper on a flat surface.
- Place the heavyweight paper on top of the wax paper.
- Arrange your pansies on the heavyweight paper however you like. Make sure that they’re not overlapping too much, as you want each flower to be able to lay flat when pressed.
- Once you’re happy with the arrangement of your flowers, place another piece of wax paper on top of them.
- Now it’s time to start pressing! Open up your flower press and place the stack of wax paper and flowers inside. Close the flower press according to it’s individual manufacturers instructions.
- Microwave the flowers according to manufacturers instructions.
Frequently asked questions:
How long does it take to press pansies?
Let the flowers sit in the book or flower press for at least two weeks so that they can dry and flatten out fully.
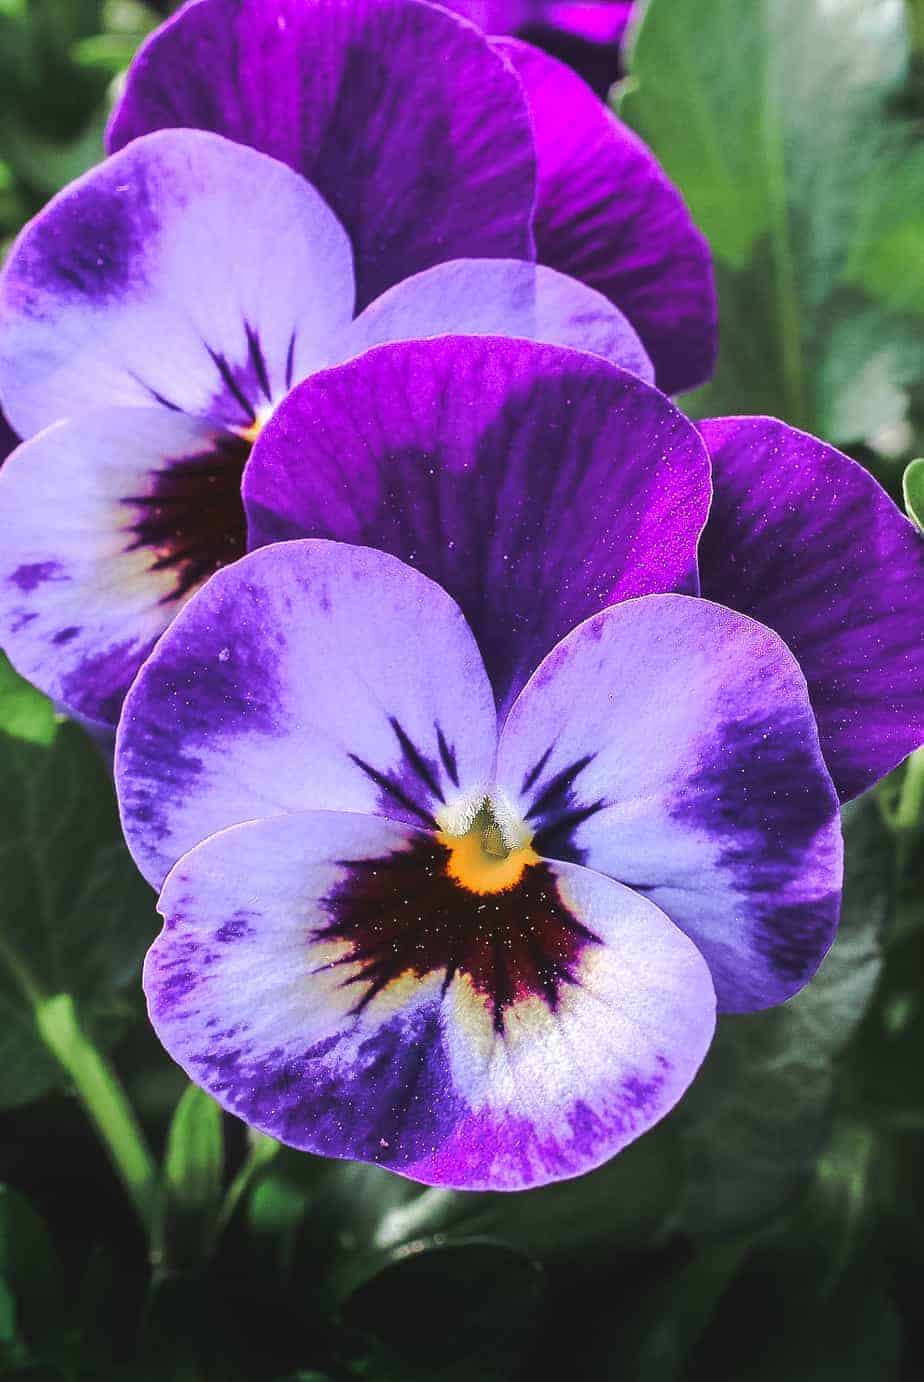
Do pansies press well?
In my experience, pansies press better than any other flower thanks to their shape and vibrant colors.
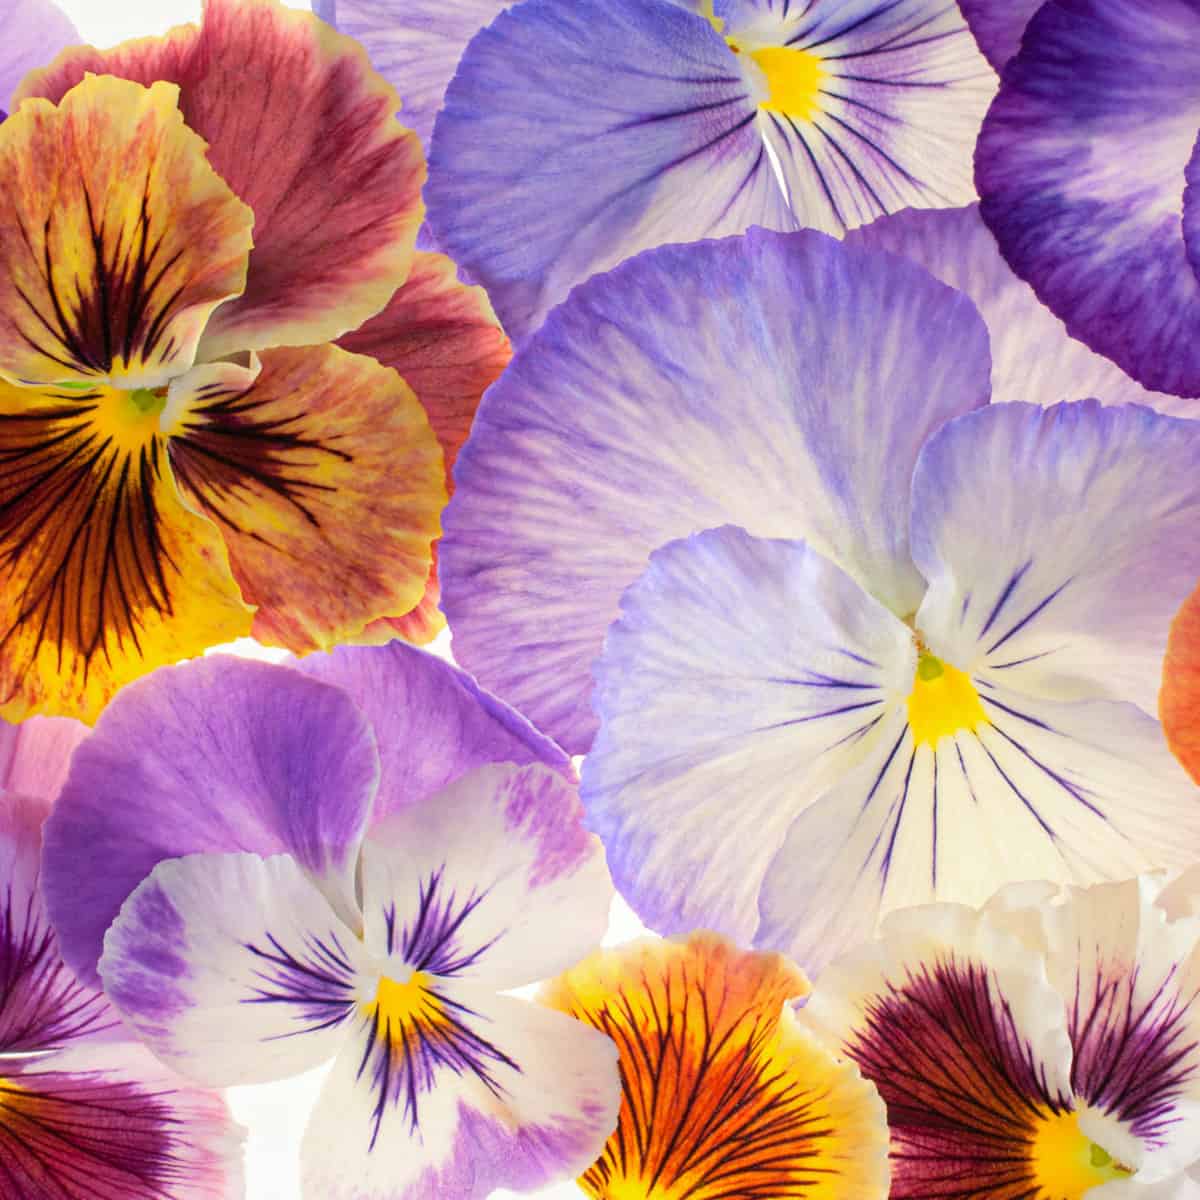
How to you press flowers and keep their color?
Not all flowers will keep their color upon being pressed. Pansies are a good choice because they are flat and will press and dry more quickly than other flowers.
Put those pansies to work:
- If you’re giving them as a gift or want to store them for later, you can glue them onto some cardstock or construction paper before framing them or placing them in a scrapbook.
- Put them in How to make a pressed pansy lollipop
- Put them on Pressed pansy sugar cookies
- Make Candied edible flower petals recipe
- Press them onto a cake
Learn how to eat a pansy in pansy 101 from my edible flower school:
Pansy art: